-
Help
Here you find some basic reference on how to use Iterazer. It is designed to be easy to understand, so this guide shouldn't really be necessary, but may be helpful.
In fact, the first few months of Iterazer's existance on the Google Play Store, it had absolutely no documentation at all, and a lot of people really enjoyed experimenting with it and to see for themselfs how to use it!
-
The Gallery
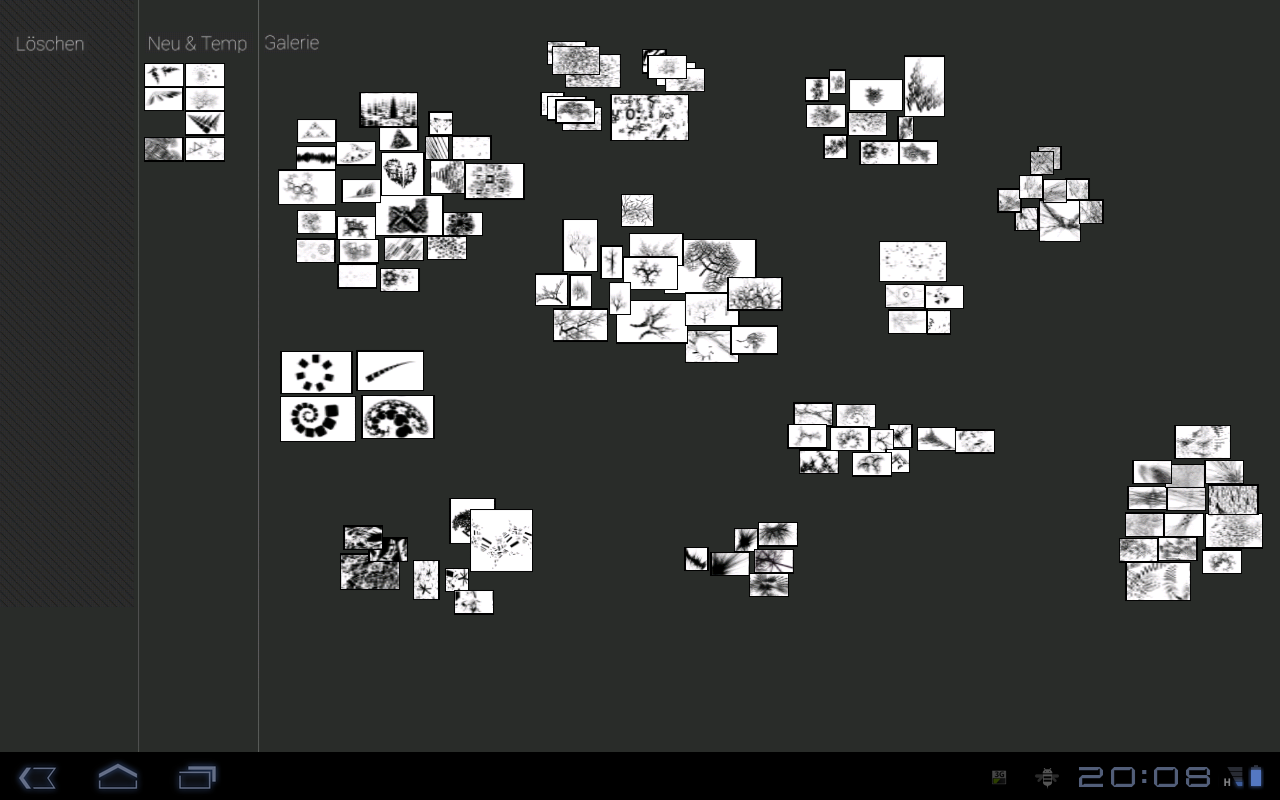
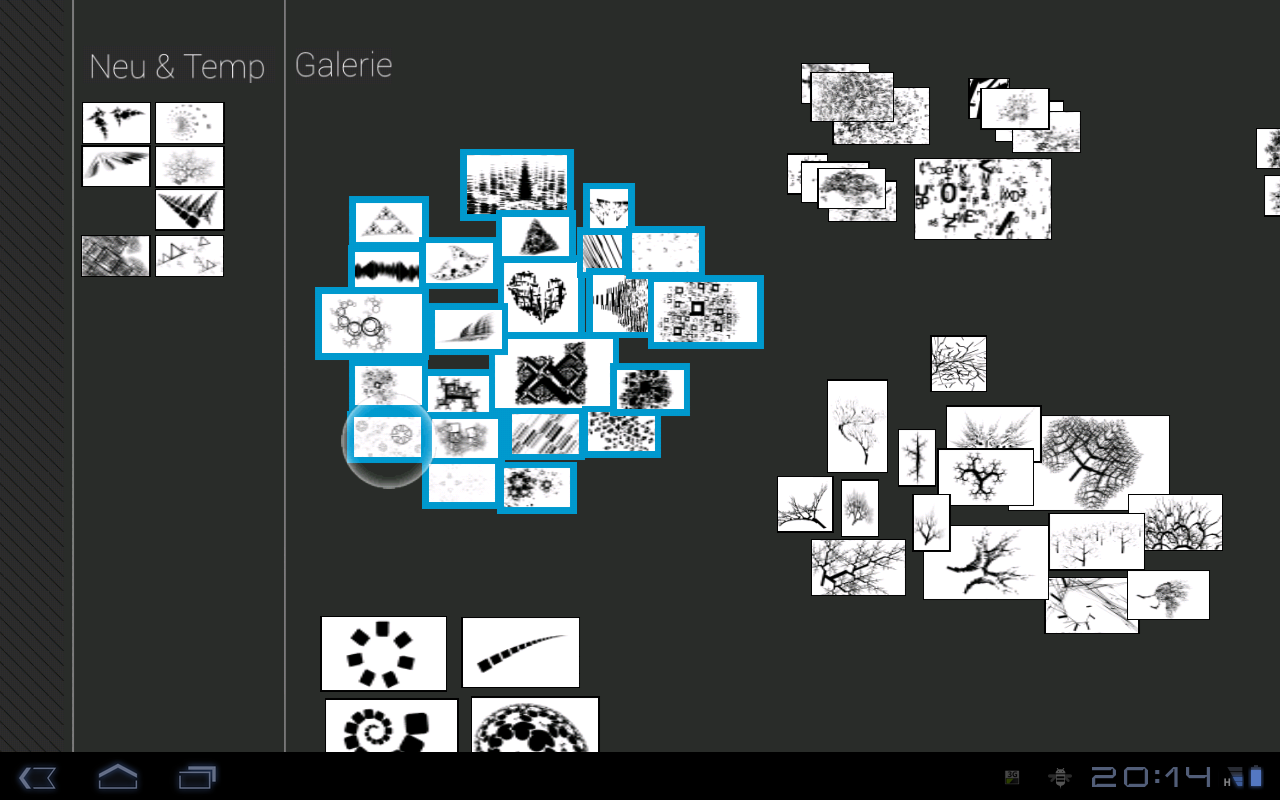
The gallery helps you sort all your creations. It's a huge open space where images can be arranged by dragging them around. Forget about folders, tags and labels - here, your images are arranged like you want them to be arranged. Piles? Stacks? A long row? No order at all? Sorted by blackness? By structure? By metaphor? Do as you wish.
The gallery is divided in three areas. On the right is the main area, the "Gallery". You arrange images here. Newly created images appear in "New & Temp". If you want to delete an image, place it inside the "Delete" area. It will be gone if you open the app the next time.
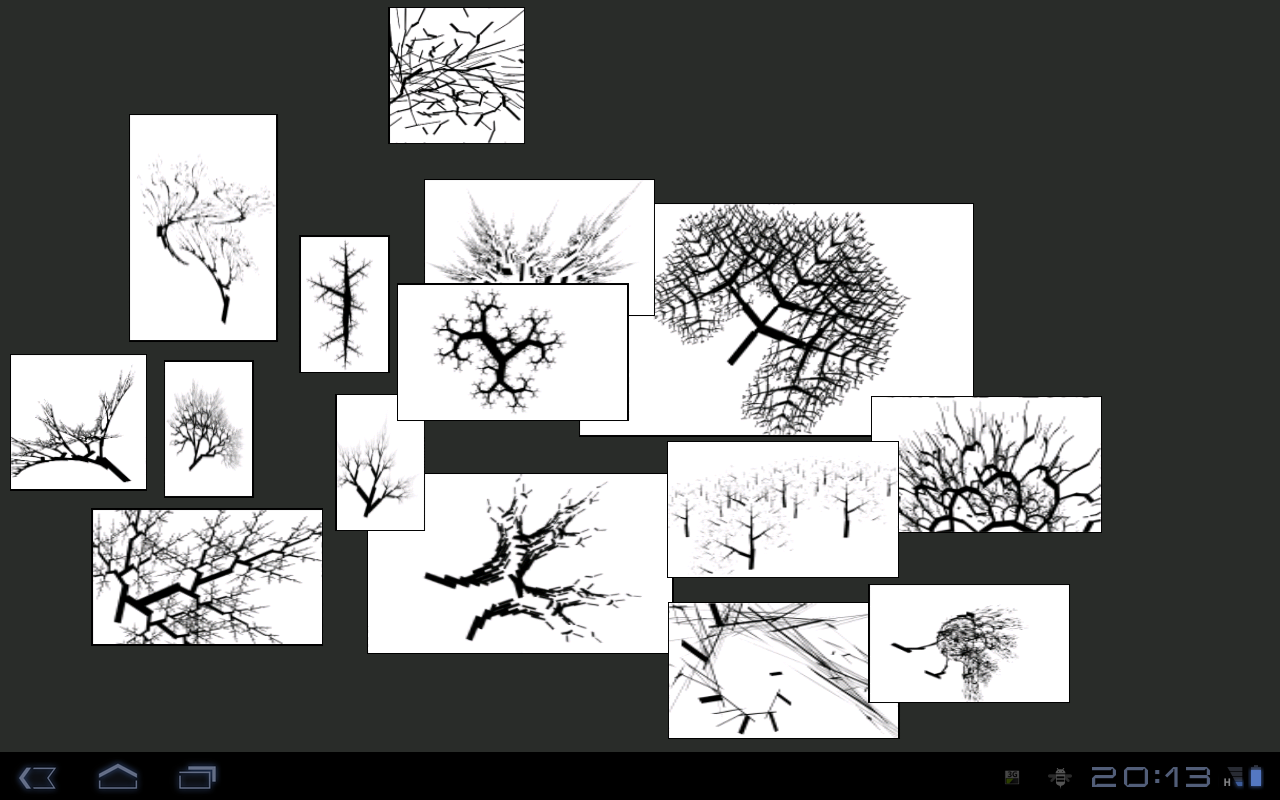
For example, here is a pile of "nature-like" images:
-
Moving and scaling
Drag on an image to move it around. Pinch with two fingers to scale it. You can use image scale for different purposes, too - make your favorites bigger, create a "top row", rate your creations.
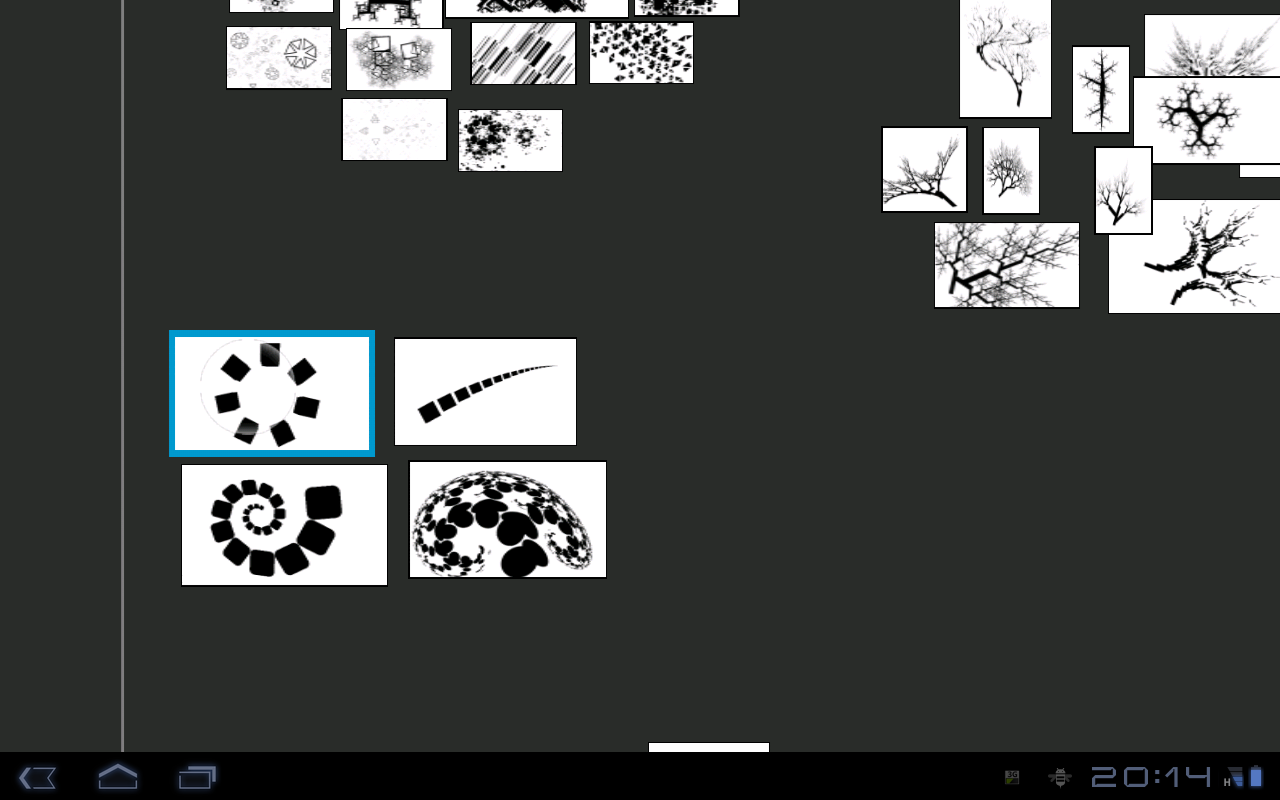
You can drag and scale multiple images around at the same time. Try it!
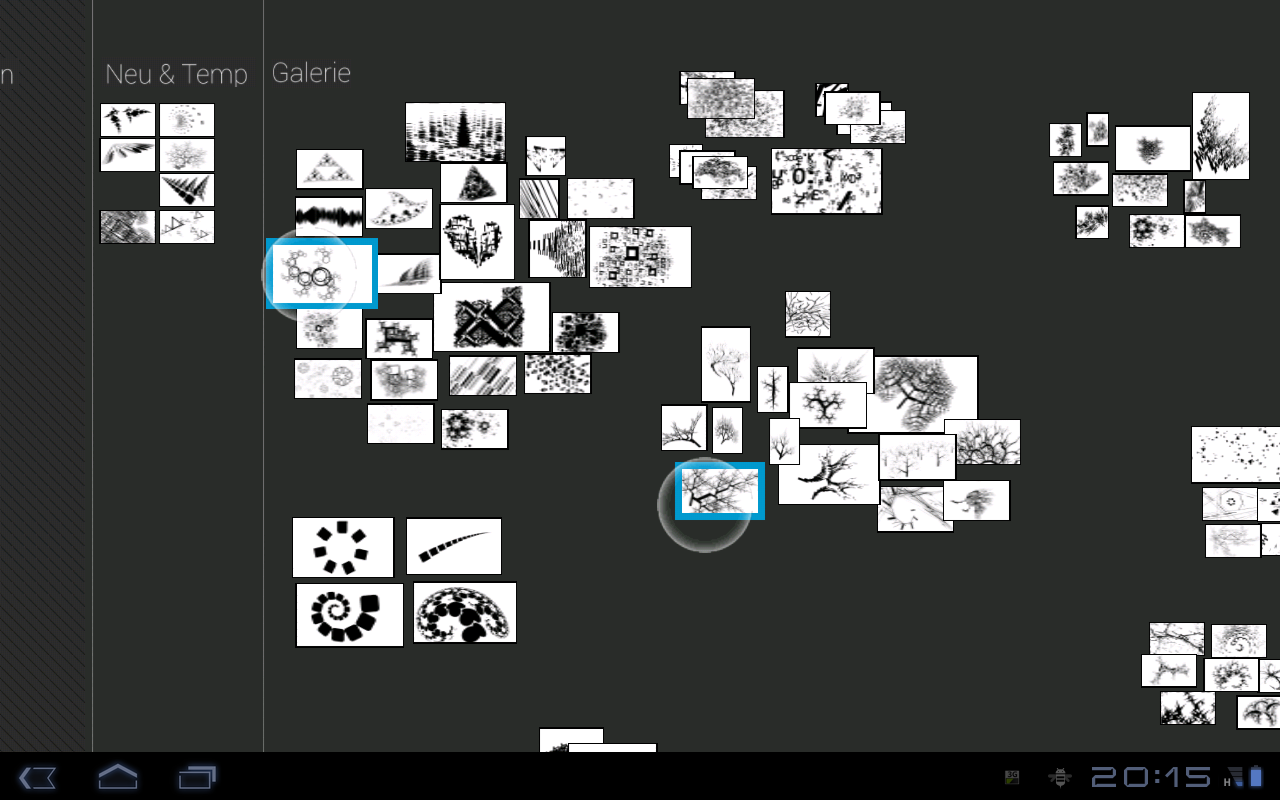
You can also tap and hold to automatically select an entire group of images. You can move this group around and even scale it, to quickly change your gallery layout.
-
The Editor
By tapping on a particular image, you open it in the editor.
Iterazer's images are fractals - they look very complex, but are defined by only a few simple parallelograms. (Mathematically, Iterazer's images are based on so-called iterated function systems.) You can see these parallelograms drawn with thin blue lines.
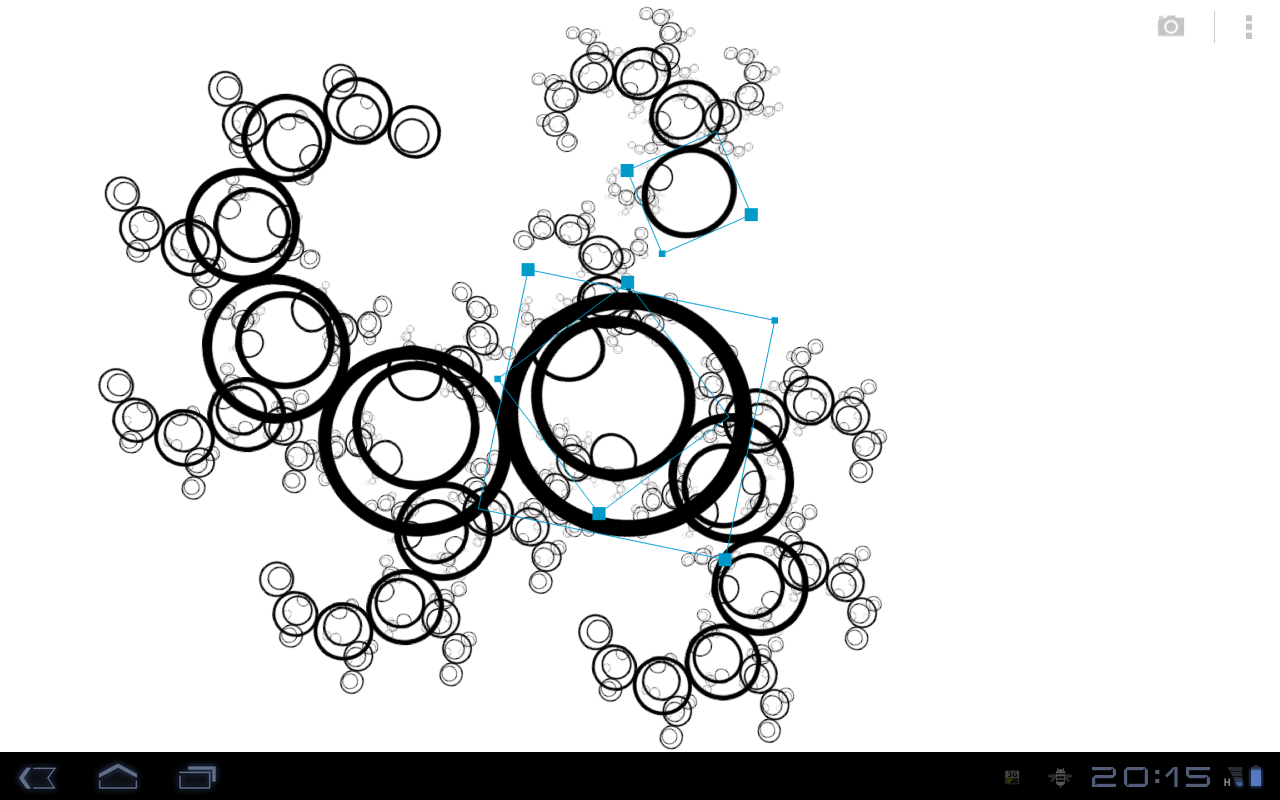
By dragging the parallelogram around or moving one of its corner points (the blue squares), you can change the appearance of the image.
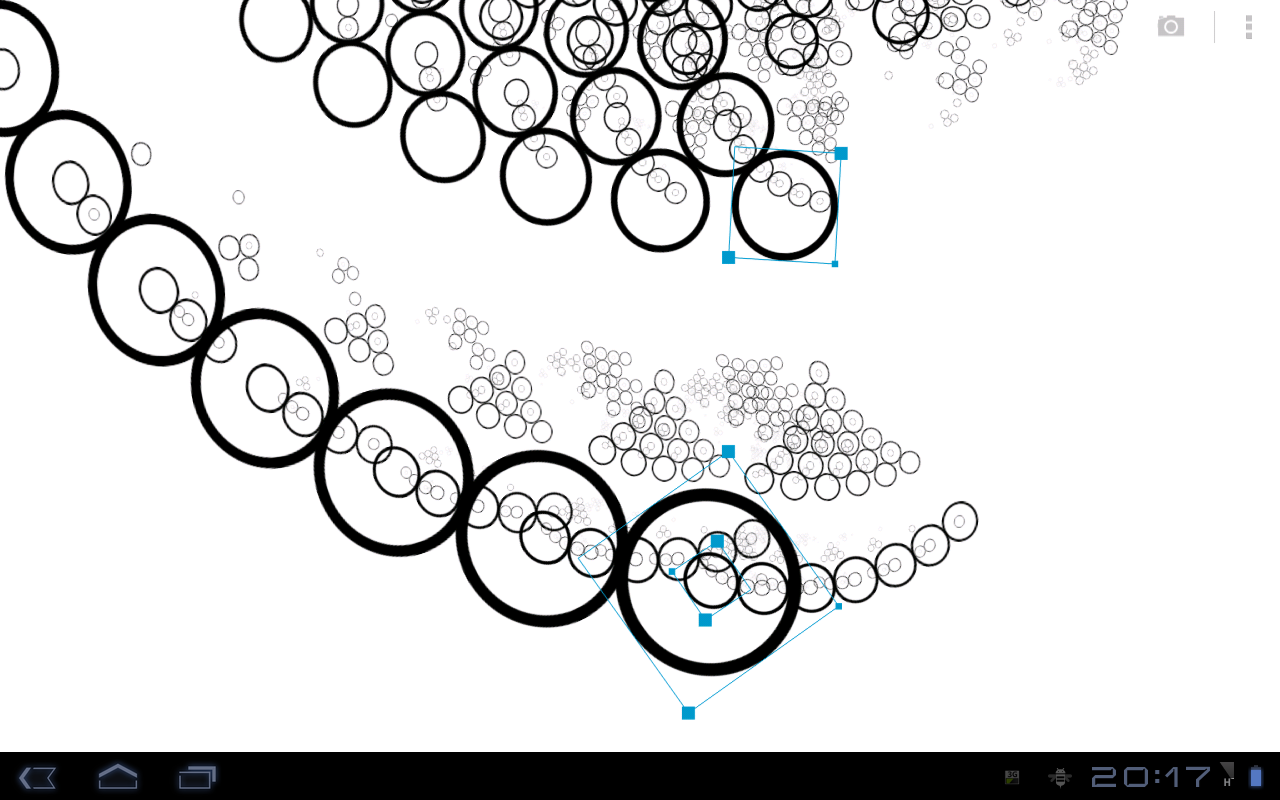
If you like your new image, don't hesitate to save it. It won't override your old image (thus it is impossible to accidentally delete something) but instead it will be saved in your gallery and placed in the "New & Temp" area. Saving is done by tapping on the camera icon in the upper right corner.
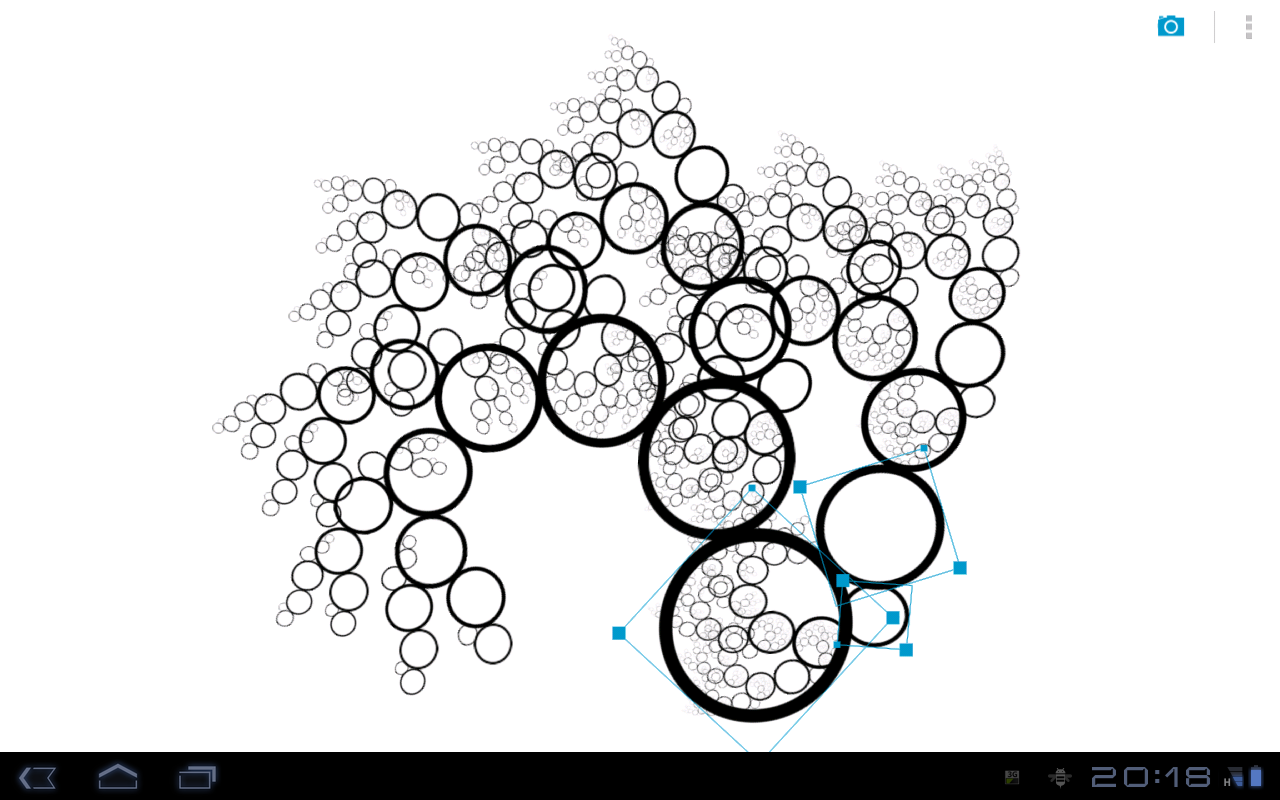
There's more. You can change the graphical element which is used to draw your fractal. To do so, tap on the three dots in the upper right corner. A sidebar will come up where you can select a graphical element. You can also scroll this sidebar to explore more.
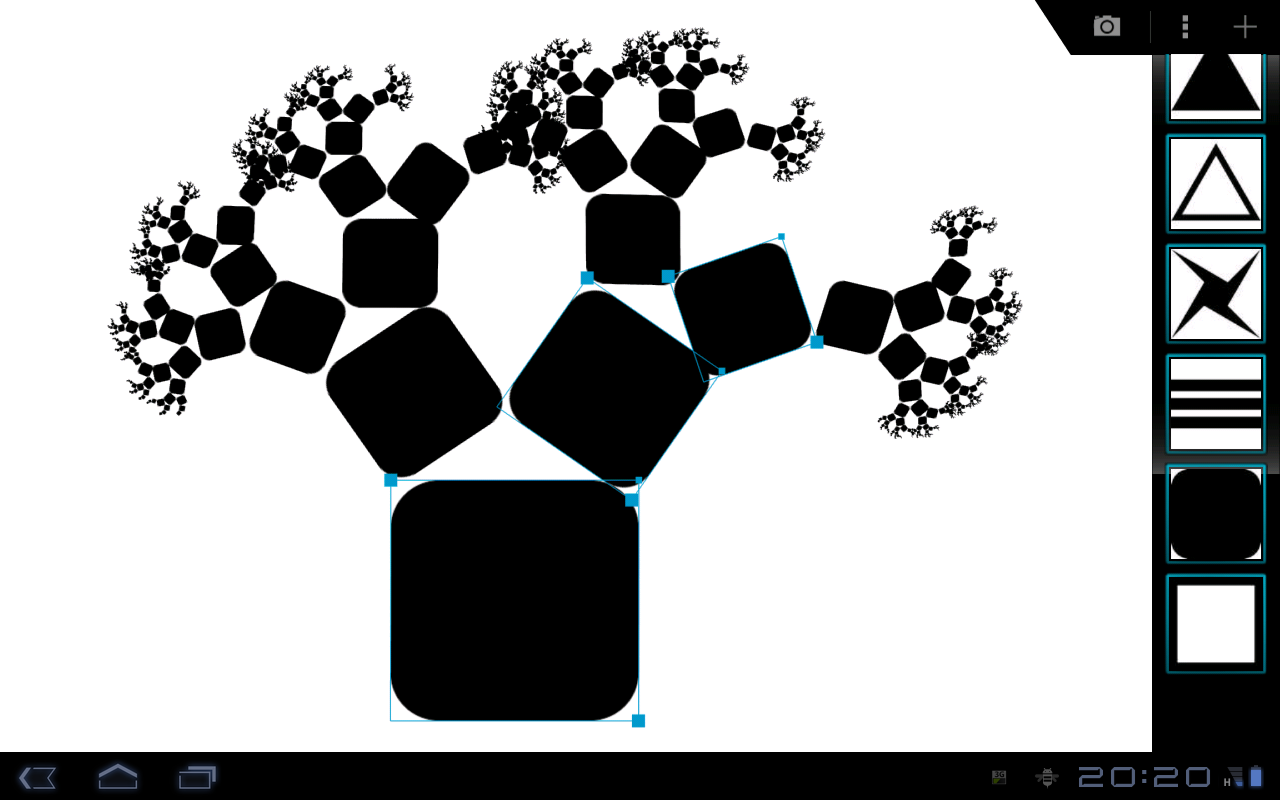
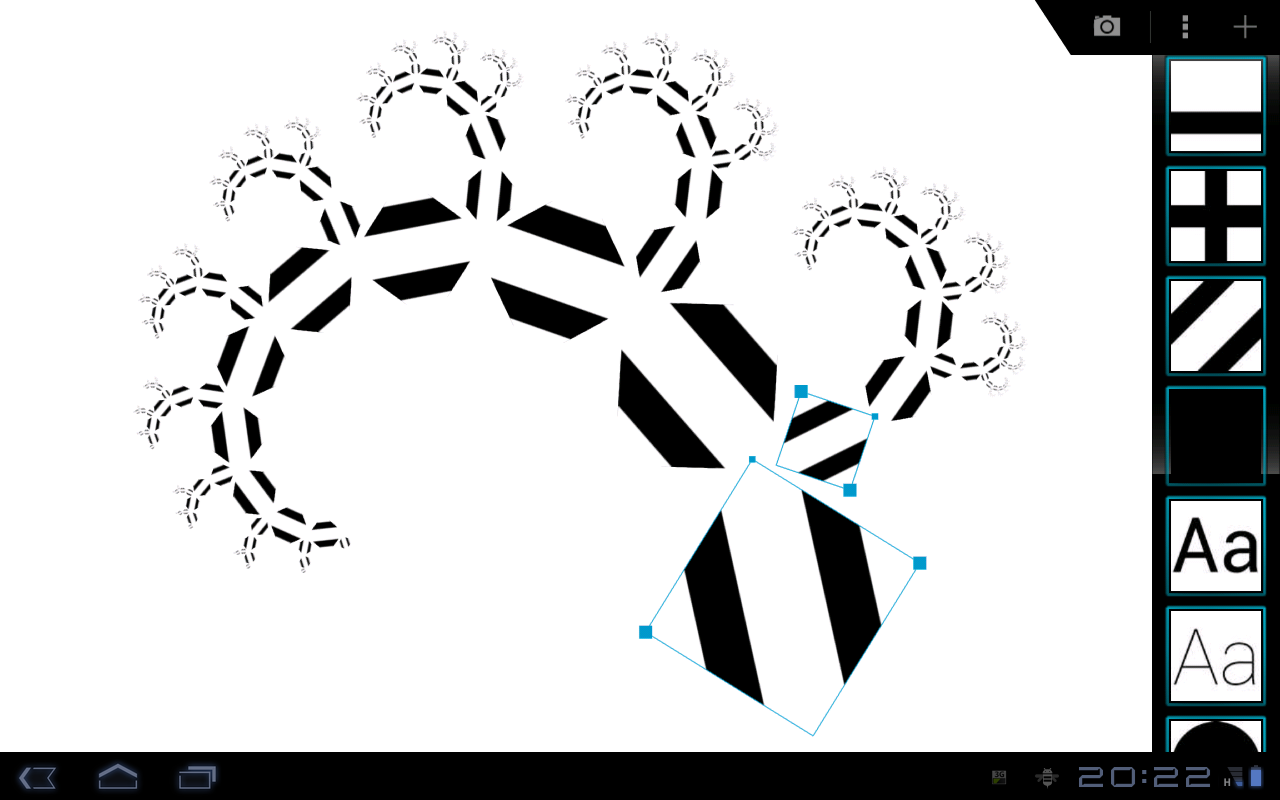
Don't forget to save cool images!
-
Sharing, Download and Export
From inside the editor, just click the "Share" button in the upper right corner. This uploads your creation and leads you to a website where you can download high-resolution images and even vector graphics. Also, you can share your image from there.

You can try sharing and export from the gallery by clicking on any of the images there.
-
Transformations
The blue parallelograms are so-called transformations. An image can consist of as many of them as you like. You can create new transformations by double-tapping where you want them to be (and you can alter them afterwards). To delete a transformation, simply double-tap on it again.
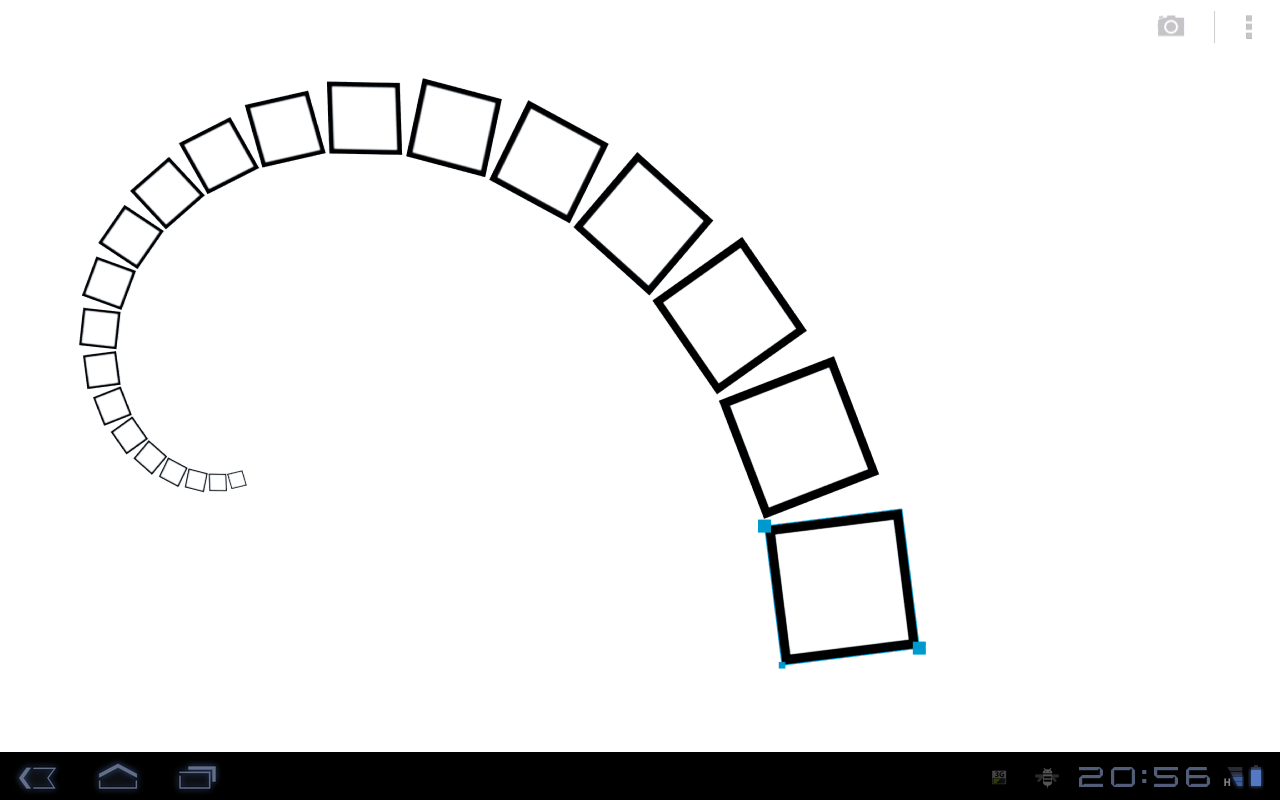 A single transformation.
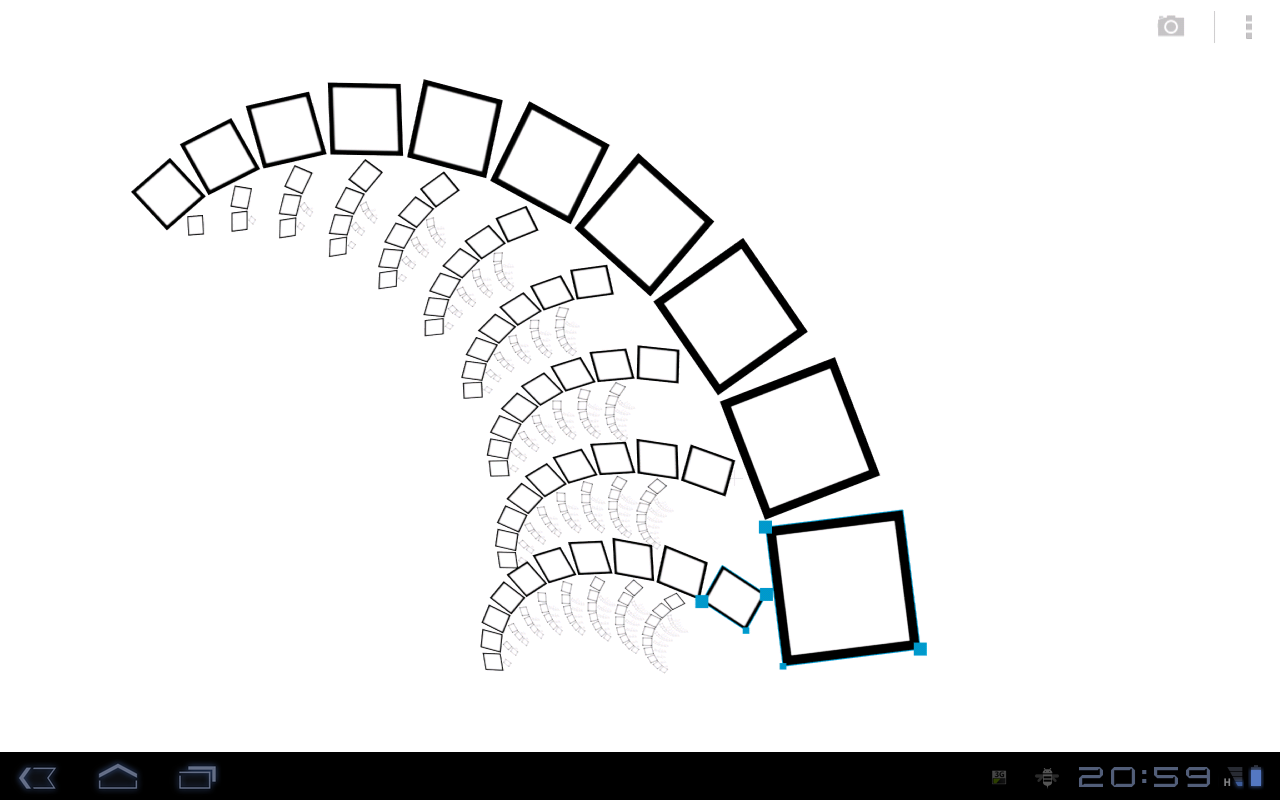 Double-tapping creates a second transformation which increases complexity.
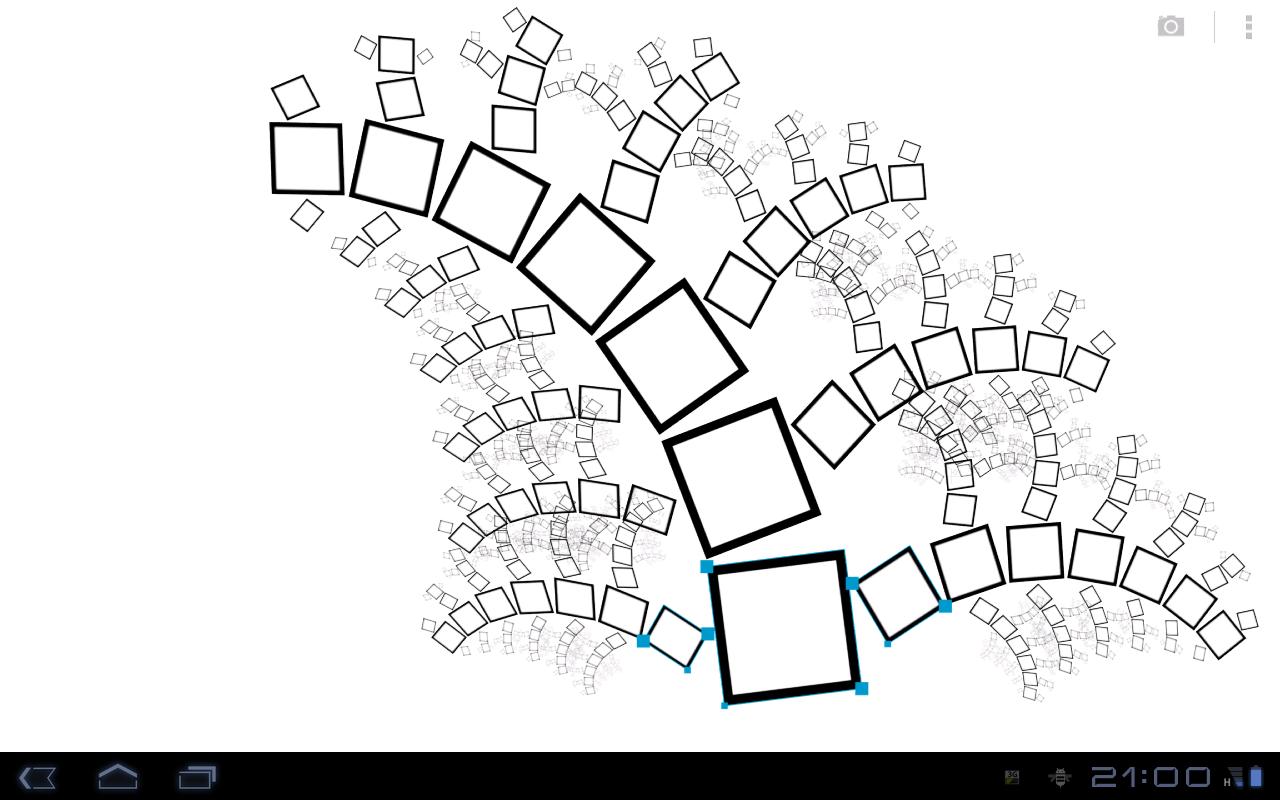 Three transformations creating an image together.
Notice that the recursion depth gets smaller when using more transformations. This is done automatically to keep the app responsive (to not create huge amounts of elements).
-
Extras
You can select text as graphical element. This can create really complex and intriguing images.

-
What's next
One word: have fun! Iterazer puts complexity in your hands. Try what you can come up with. If there is time and demand, next versions of Iterazer will contain ways to export your images (I already have ways to do that for offline usage, so if you really, really want an image in big, ask me per mail).
If you haven't already, download a copy of Iterazer from one of the stores.
Go to the gallery to see what Iterazer is capable of.
Inform yourself about the technology behind Iterazer.


